Decrediton Setup
Decrediton is the official Decred graphical wallet. It is open source, developed by the Decred developers team and is available for Mac, Linux and Windows.
1. Introduction
Cryptocurrency wallets are applications that manage the key pair (public and private keys), derive keys (to receive transactions and increase privacy), execute transactions (signing transfer of coins with the private key) and keep a record of transactions and when the receiving addresses were generated.
2. Download
Attention! Always download Decrediton from its official website.
Access the website at https://decred.org. If you operating system was correctly detected (below the green button), click on the green button “Download Wallet”.
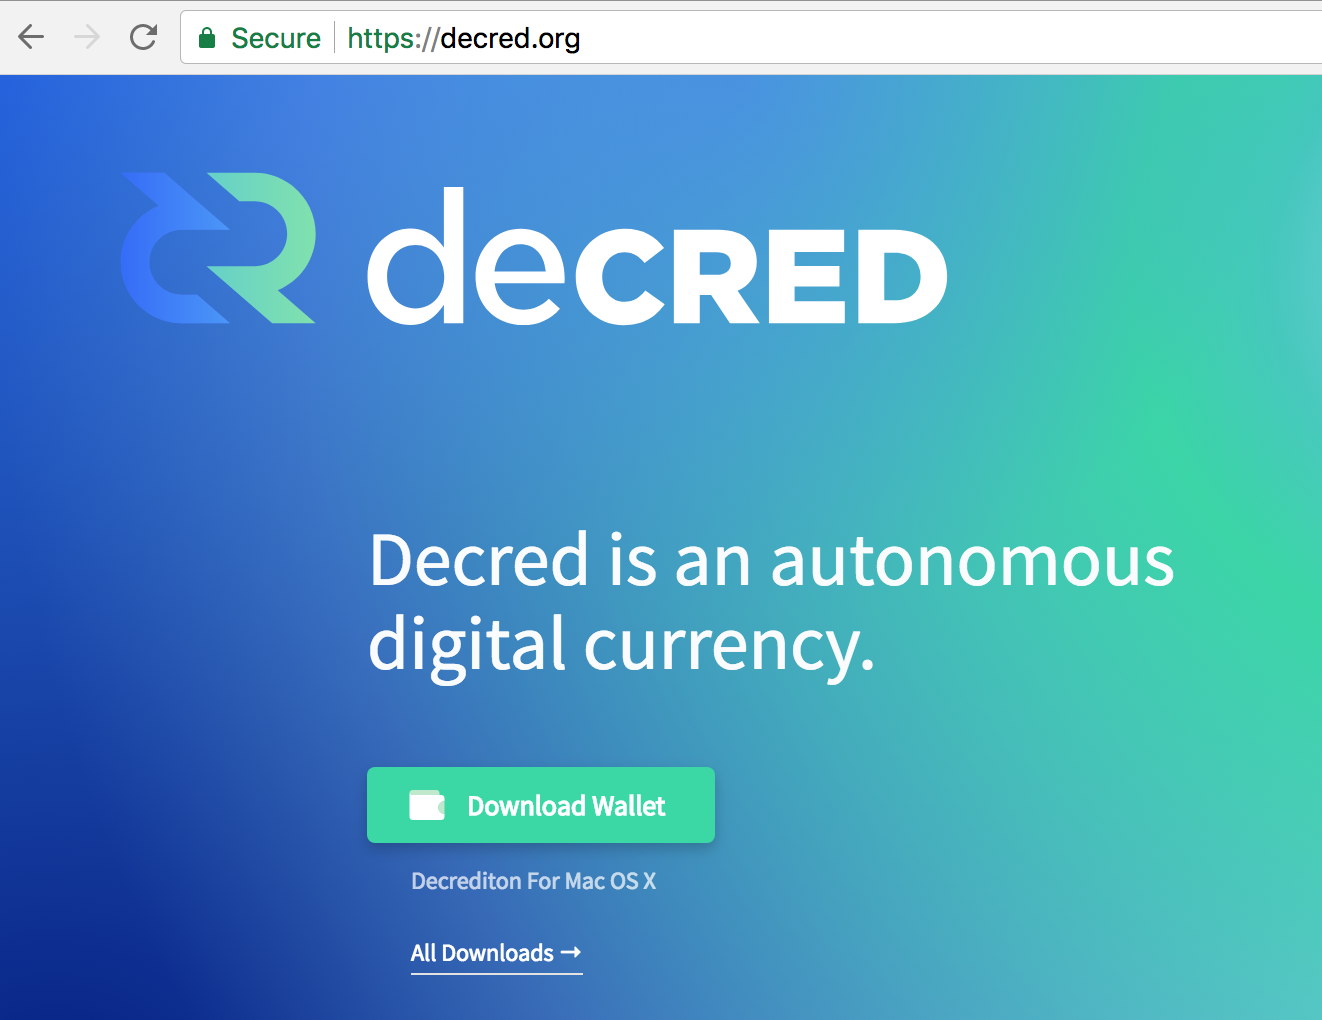
Figure 1 - Download link for Decrediton on decred.org
If your operating system wasn’t correctly identified, click on “All Downloads”.
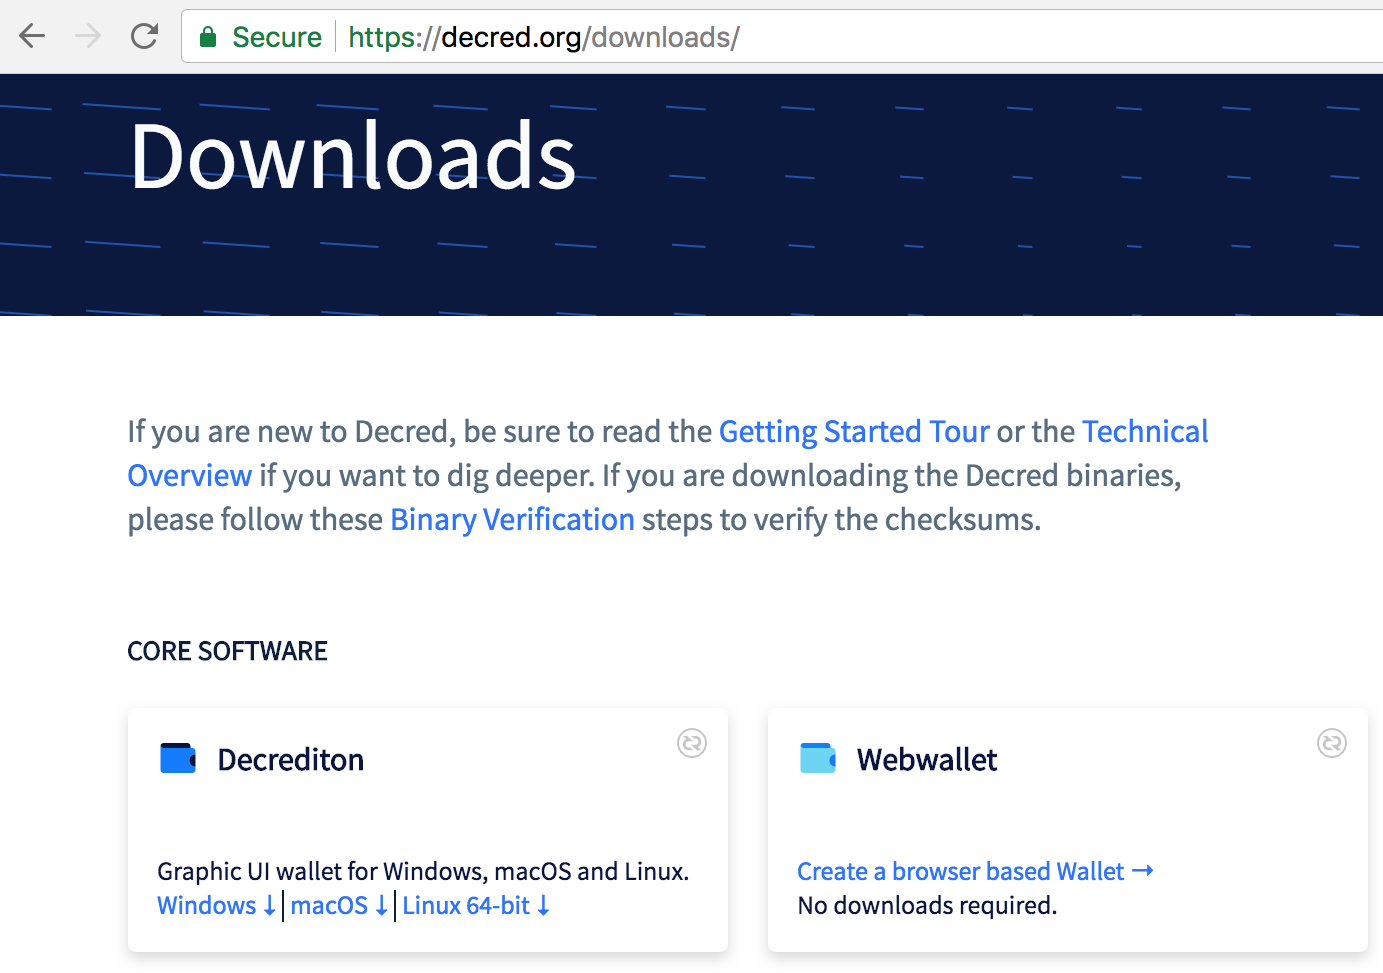
Figure 2 - Decrediton downloads for other platforms
Before you start Decrediton setup, you should verify its digital signature. To learn more read Verifying digital signatures.
| Architecture | Filename |
|---|---|
| Windows 32-bit | There is no 32-bit version |
| Windows 64-bit | decrediton-[$VERSION].exe |
| Linux 32-bit | There is no 32-bit version |
| Linux 64-bit | decrediton-[$VERSION].tar.gz |
| Linux 32-bit ARM | There is no ARM platform version |
| Linux 64-bit ARM | There is no ARM platform version |
| macOS 64-bit | decrediton-[$VERSION].dmg |
| Hash file | manifest-decrediton-[$VERSION].txt |
| Signature of hash file | manifest-decrediton-[$VERSION].txt.asc |
3. Installation and update
3.1. Installation
Mac
- Download the latest version of Decrediton on decred.org
- Verify its digital signature
- Mount the image
- Move Decrediton to the Applications folder

Figure 3 - Move Decrediton app to the Applications folder
Linux
- Download the latest version of Decrediton on decred.org
- Verify its digital signature
- Extract it, enter the newly created directory, run Decrediton
$ tar -xzf decrediton-$VERSION.tar.gz
$ cd decrediton-$VERSION
$ ./decrediton
Windows
- Download the latest version of Decrediton on decred.org
- Verify its digital signature
- Execute the file
3.2. Location of files
The wallet, configuration files, log files and the blockchain are kept in a single directory. The location of this directory depends on the operating system:
Windows: C:\Users\$USERNAME\AppData\Local\Decrediton
macOS: ~/Library/Application Support/Decrediton
Linux: ~/.config/decrediton
Because the configuration files, the wallet and the blockchain aren’t stored with the application, the update process is very simple: just replace the old app with the new app or execute from a different directory.
3.3. Update
To update Decrediton to the latest version just reinstall it as shown before. The wallet won’t be overwritten, but make sure you have the seed in a safe place.
Mac
- Download the latest version of Decrediton on decred.org
- Verify its digital signature
- Mount the image
- Move Decrediton to the Applications folder
- When macOs informs you there is already an app with the same name, click the button to replace it
Linux
- Download the latest version of Decrediton on decred.org
- Verify its digital signature
- Extract it
- Move or rename the new directory according to your preferences
Windows
- Download the latest version of Decrediton on decred.org
- Verify its digital signature
- Execute the installer
4. Wallet creation
When Decrediton is executed for the first time, the user will be able to create a new wallet. There are two ways to create the wallet: creating a new seed or using a previoulsy created existing seed, in any device.
The seed is a sequence of 33 phonetically different words that represent the private key. It is used to make it easier to write it down without making mistakes between a long sequence of letters and numbers.
The seed is all the information the user must write down. With this sequence of 33 words the users may recover the wallet on any device, anytime, anywhere in the world.
4.1. Creation of a new seed (new private key)
After Decrediton starts, the user may choose between the default-wallet or the button “Create a New Wallet” to create a new folder in the file system. In both cases the user may create a new seed, if desired.
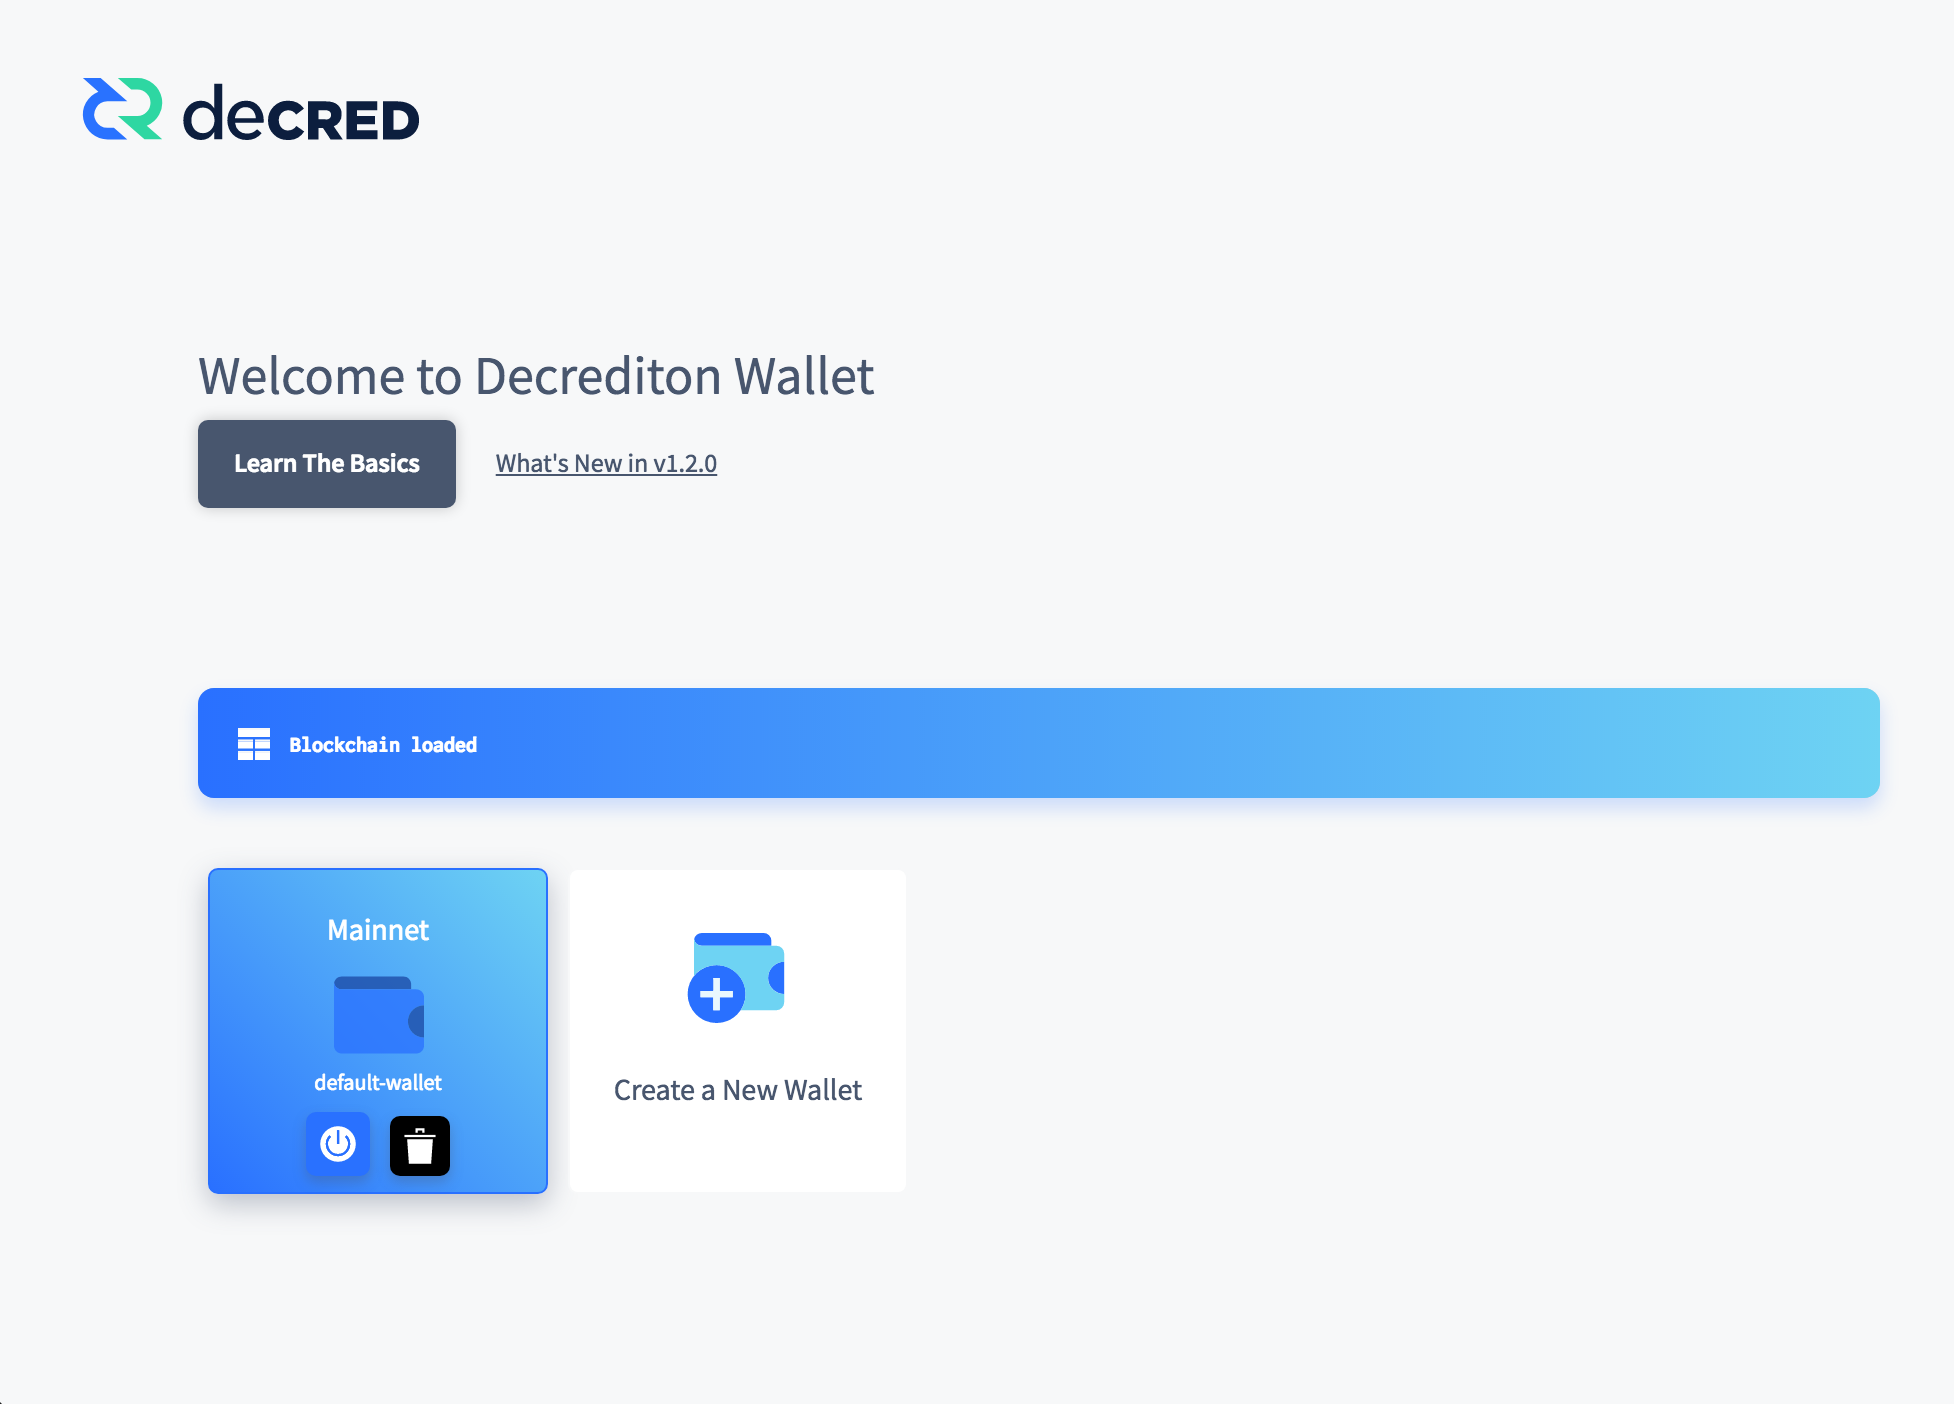
Figure 4 - Decrediton starts
If the user selected “Create a New Wallet” a name msut be chosen for the new wallet. This name will be used to create a folder inside wallets/mainnet or wallets/testnet, inside Decrediton directory, depending on how Decrediton was started. This new folder will keep the file wallet.db, configuration and log files.
The full path will be:
Windows: C:\Users\$USERNAME\AppData\Local\Decrediton\wallets\[mainnet|testnet]\$WALLET_NAME\[mainnet|testnet2]\wallet.db
macOS: ~/Library/Application Support/Decrediton/wallets/[mainnet|testnet]/$WALLET_NAME/[mainnet|testnet2]/wallet.db
Linux: ~/.config/decrediton/wallets/[mainnet|testnet]/$WALLET_NAME/[mainnet|testnet2]/wallet.db
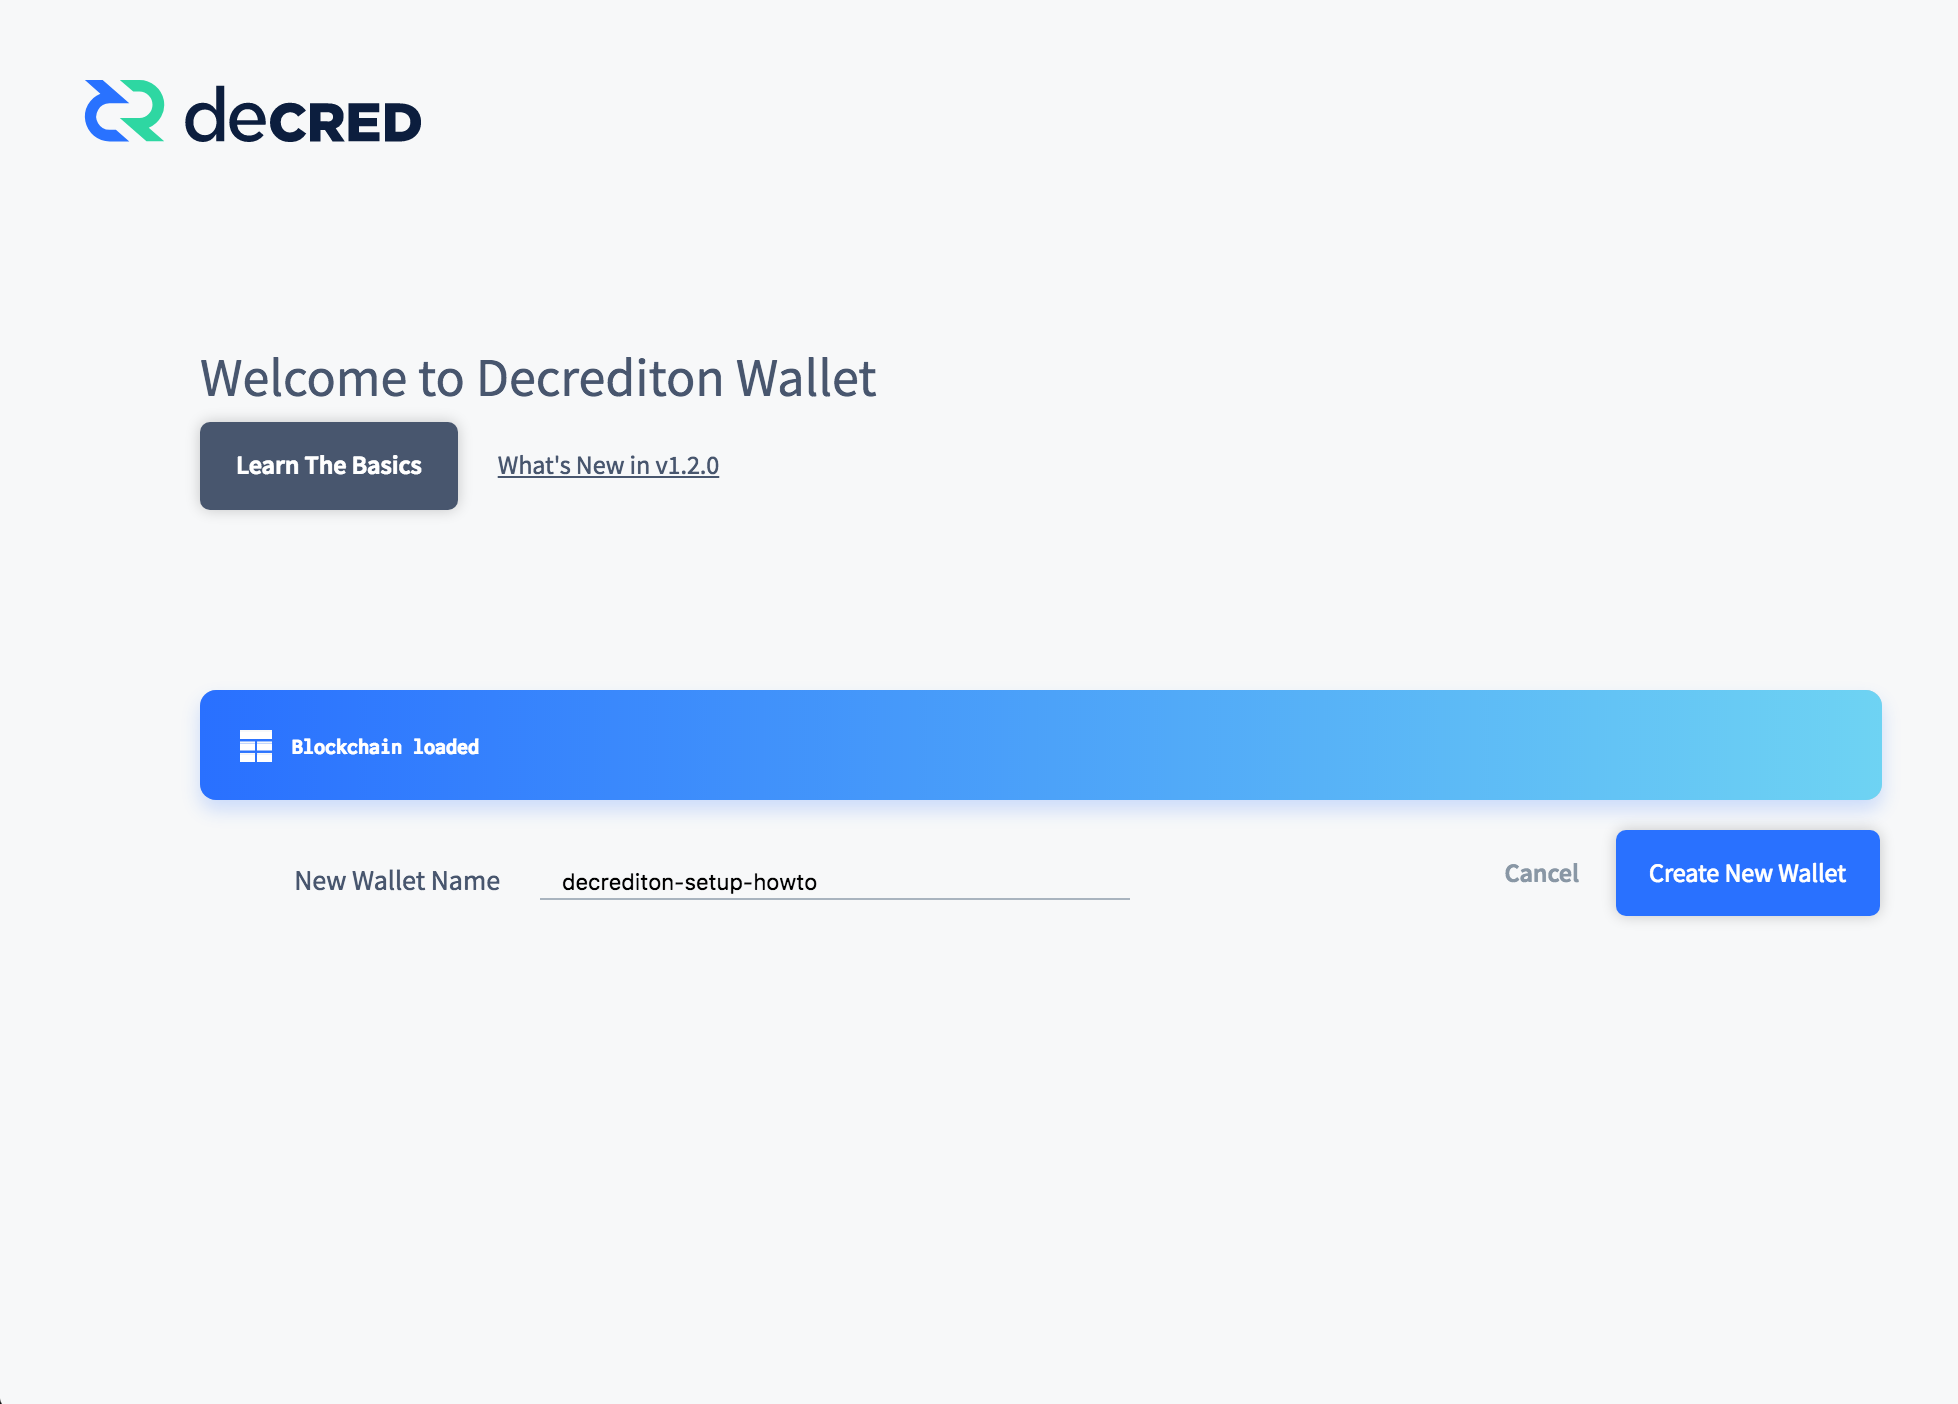
Figure 5 - Create a New Wallet
If the user chooses “Create a New Wallet”, a new seed will be generated. The option “Restore Existing Wallet” uses an existing seed.
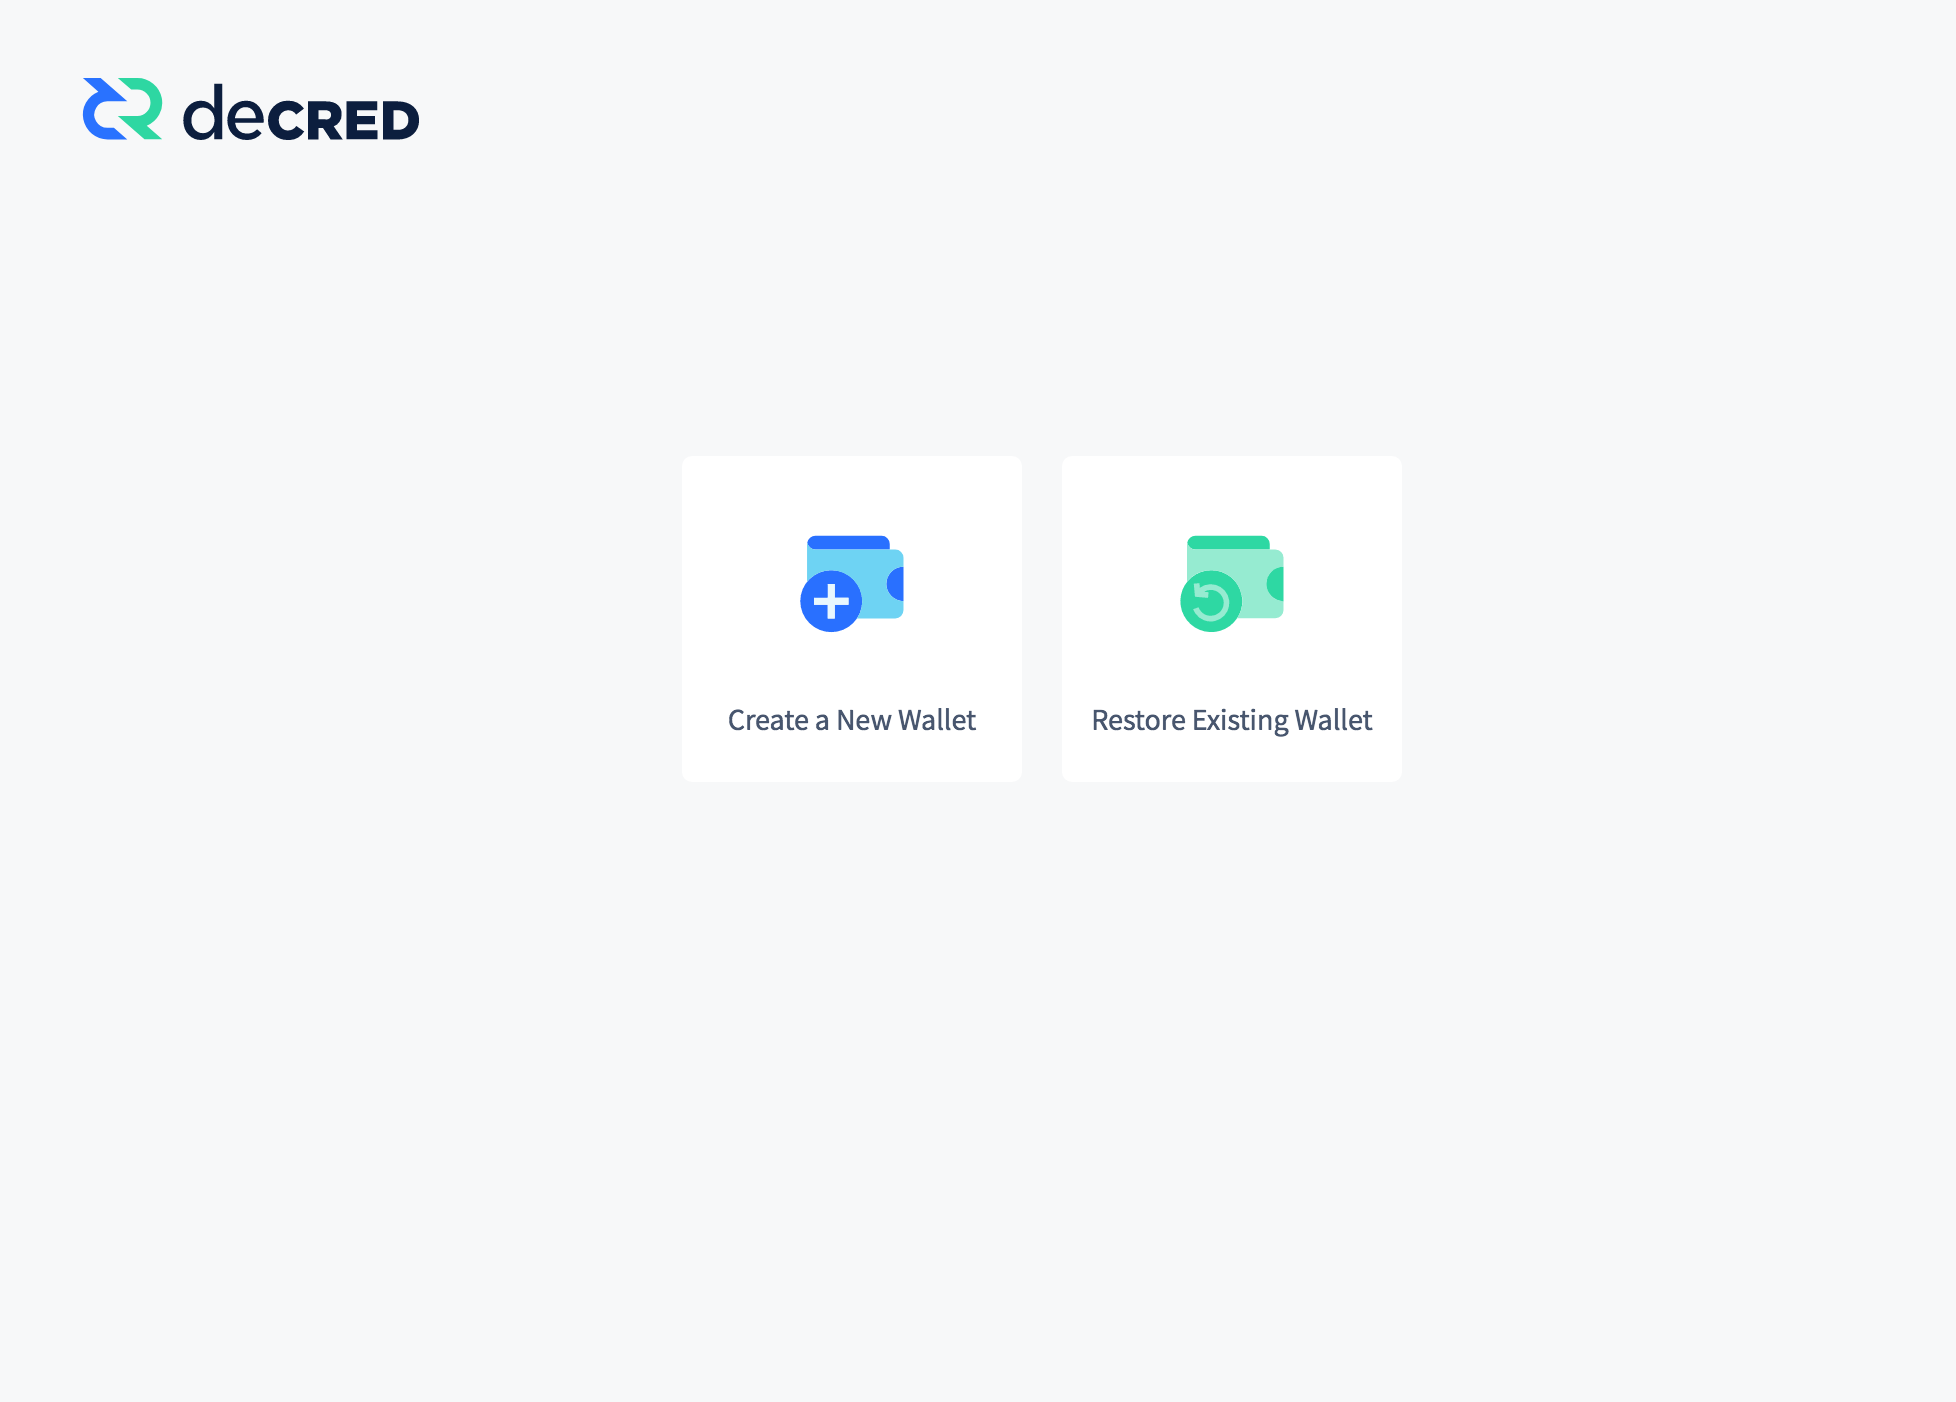
Figure 6 - Create a new seed or restore the wallet using an existing one
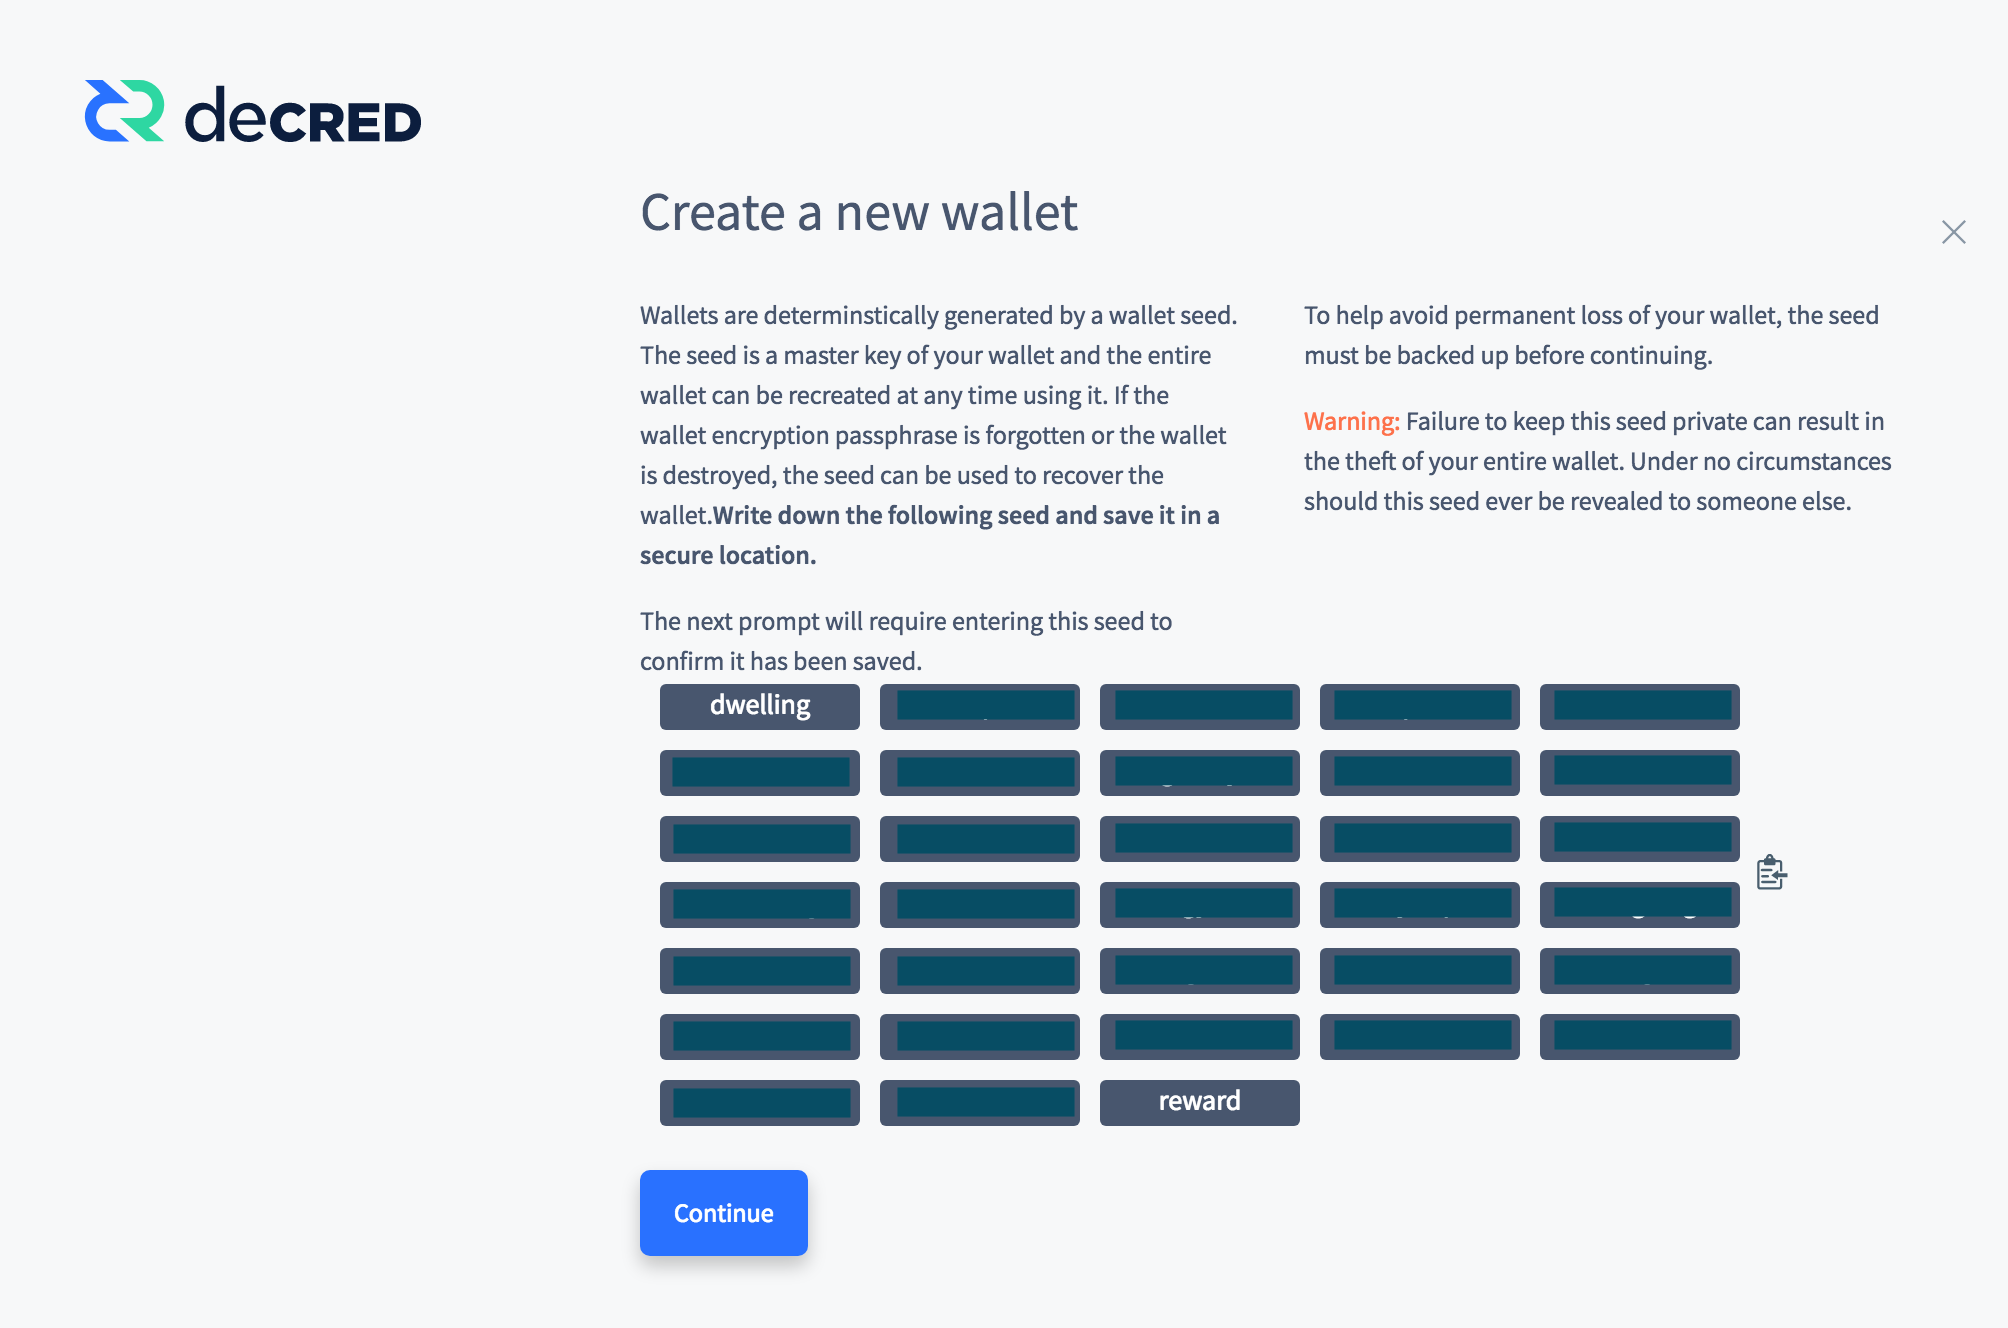
Figure 7 - The user receives the new seed
Write down the seed and keep it in a secure location. Do not take picture with your smartphone. Do not take screenshots. This information should only be kept offline, so hackers cannot find it if they have access to your device. Click on “Continue”.
If the user clicks a small button on the right side to copy the seed to the clipboard, must make it clear that the risks of doing so are well understood, as shown in the next figure. There are risks in the use of the clipboard, as there may be some processes monitoring it, and also where the seed will be pasted, because it should not remain on the device.
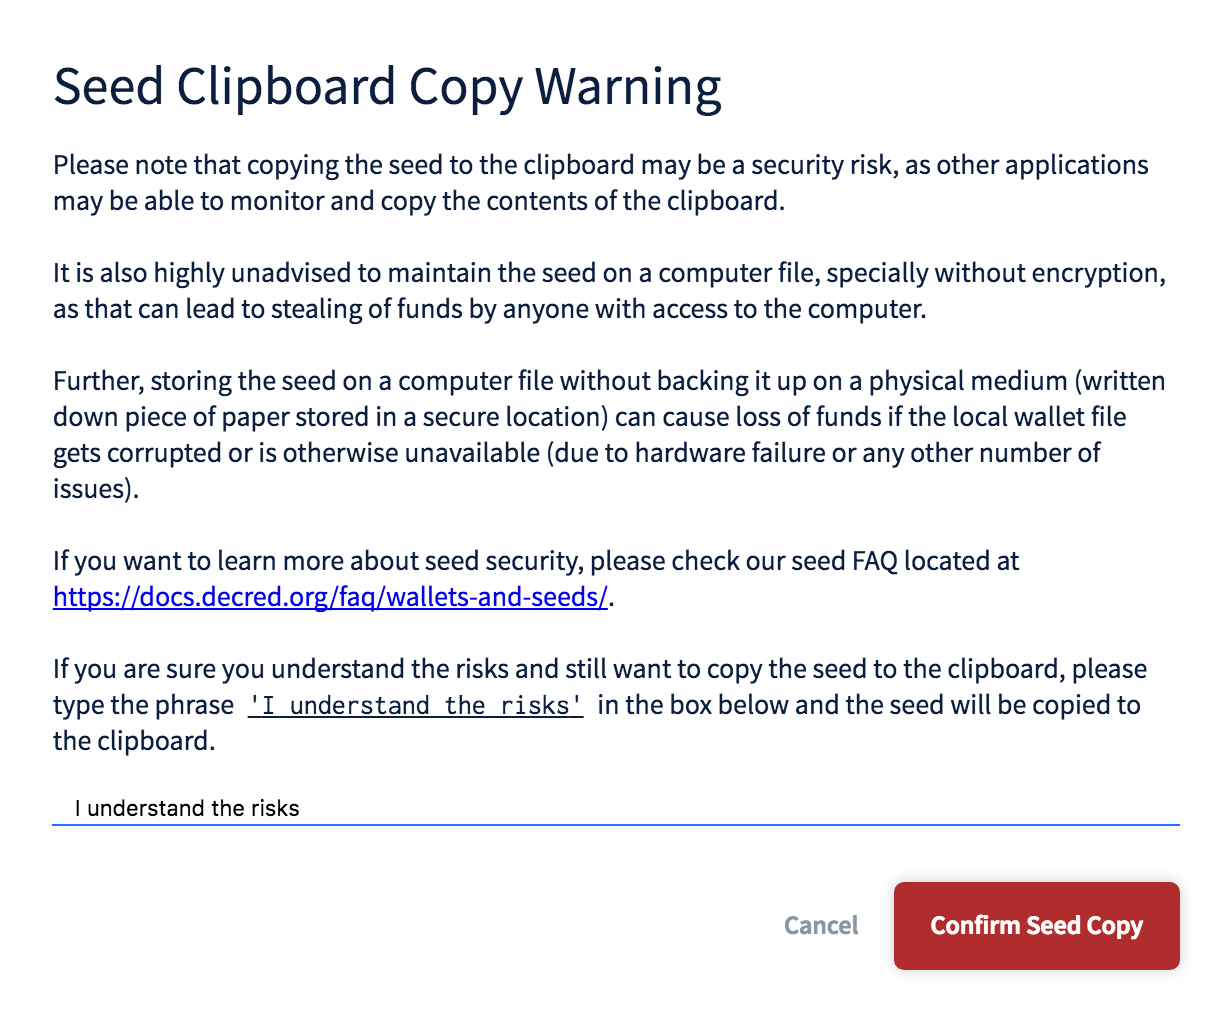
Figure 8 - The user understands the risk of copying the seed to the clipboard
Decrediton will ask you to confirm the seed you just wrote down. This is intended to make sure you got it right.
At the bottom of the window, type a passphrase to protect the private key. This password will be used to encrypt the private key and protect the resources. To spend the available resources this passphrase will be necessary.
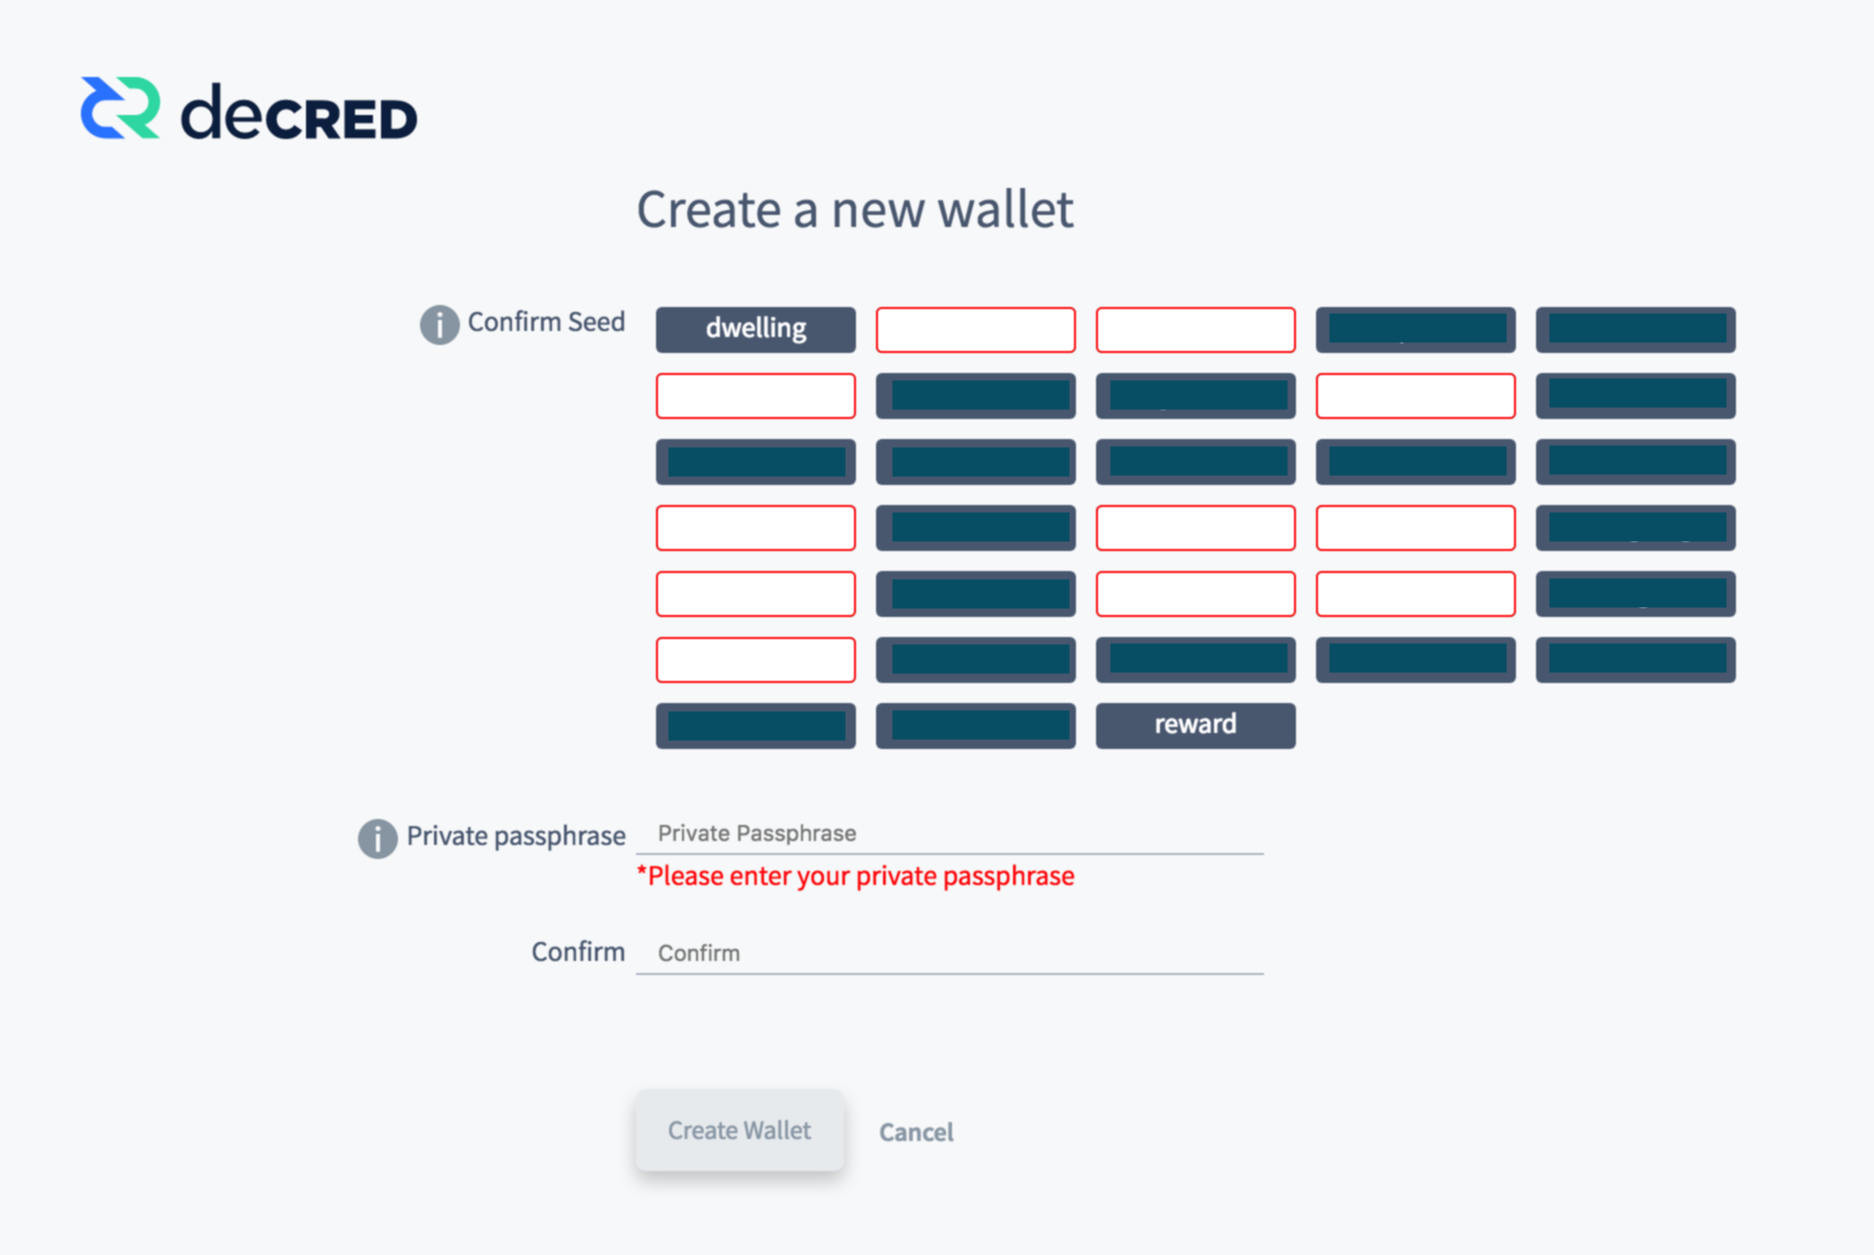
Figure 9 - Wallet seed confirmation and a passphrase to protect the private key
Without this passphrase any attacker with access to the device may locate the wallet file and transfer all resources in the wallet.
4.2. Using an existent seed (an existent private key)
If you choose to use an existing seed, Decrediton will show you the screen from figure 9, to corfirm the seed and choose a passphrase for the wallet.
5. Blockchain download
When the blockchain download is finished (which may take as long as 3 hours), Decrediton will present you the screen shown in the next figure. For a new wallet, the balance is zero. If the seed from an existing wallet was used, its balance will be shown. Decrediton is ready for use.
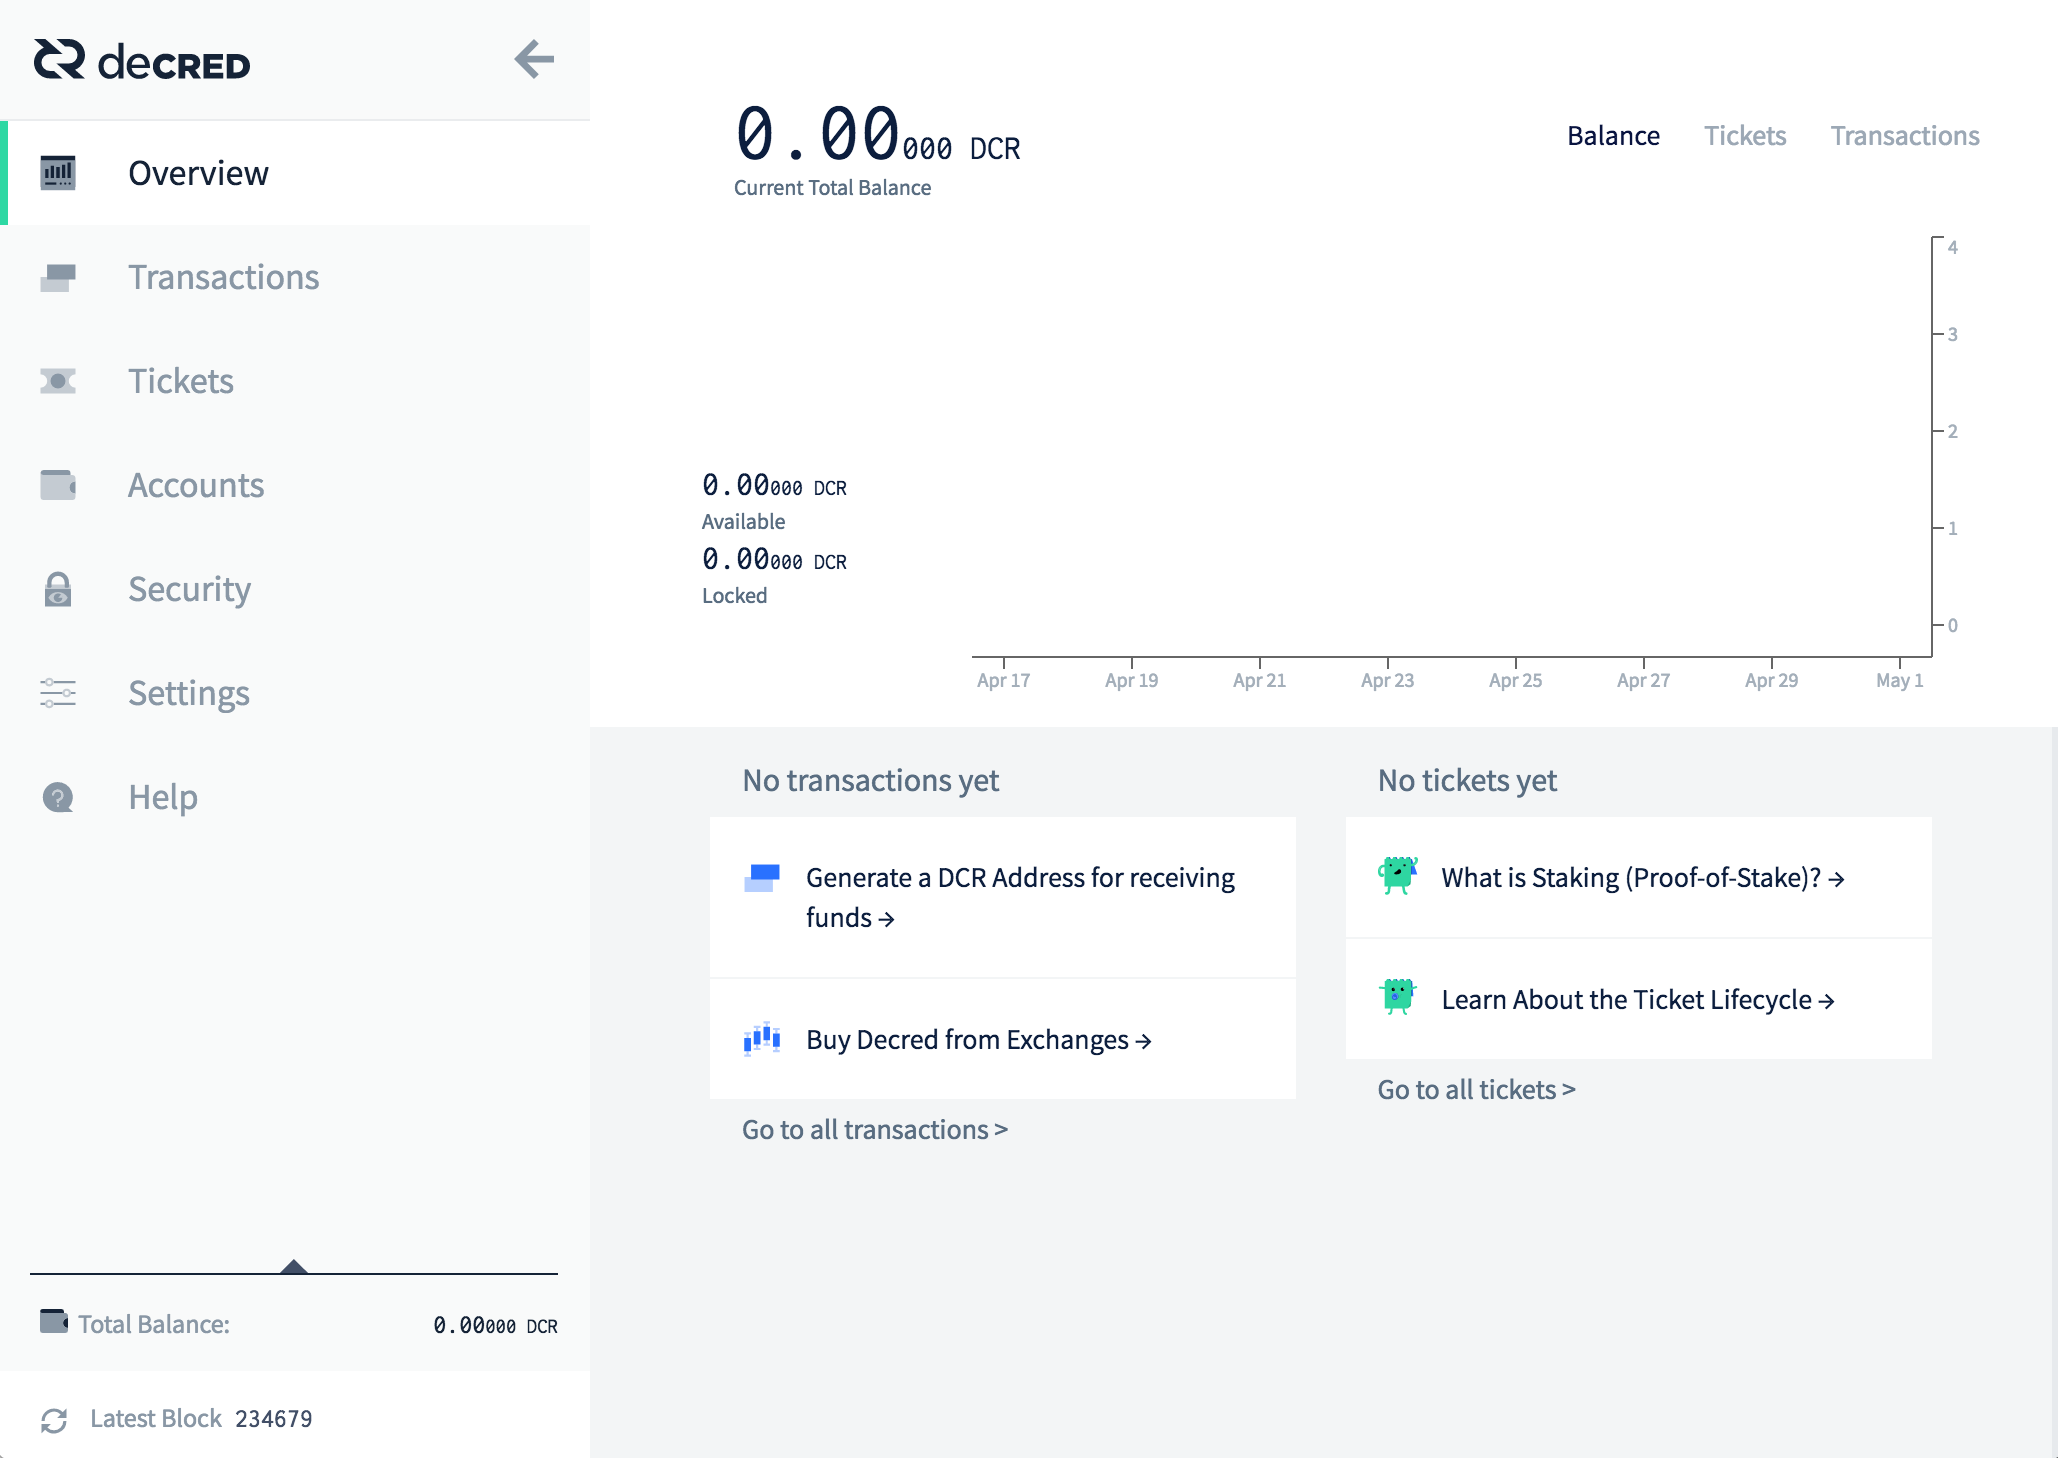
Figure 10 - Decrediton is ready for use
When Decrediton is restarted, the user chooses which wallet to open.
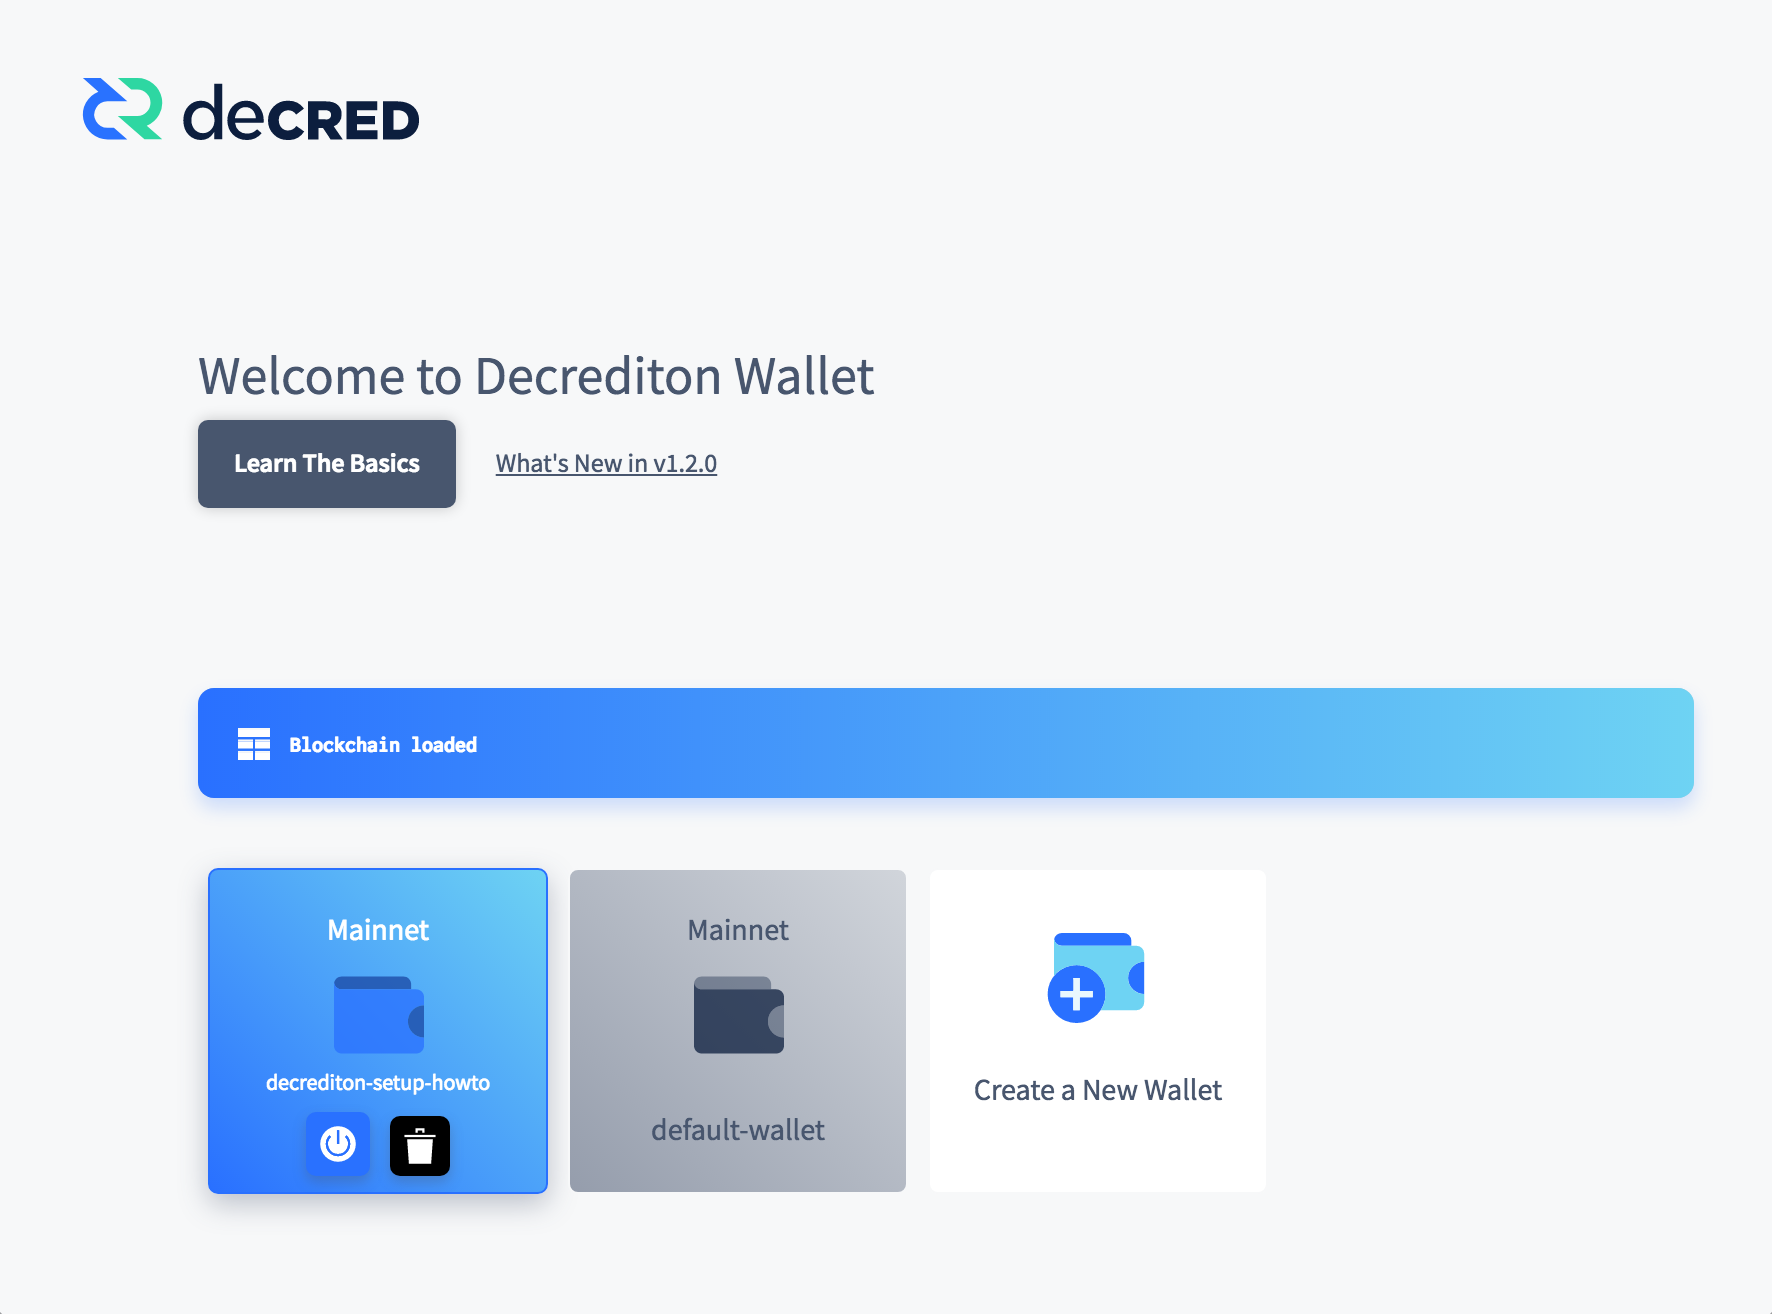
Figure 11 - Wallet section on Decrediton
6. Configuration
Decrediton stores the wallet, the log files and its configuration in a single directory. Decrediton configuration resides in a file named config.json on all operating systems.
Windows: C:\Users\$USERNAME\AppData\Local\Decrediton
macOS: ~/Library/Application Support/Decrediton
Linux: ~/.config/decrediton
Decrediton uses the default dcrd folder on each operating system to store the blockchain. The wallet.db file is stored in a folder with the network name (wallets/mainnet/$WALLET_NAME/mainnet, wallets/testnet/$WALLET_NAME/testnet2) within its own structure (unrelated to dcrwallet directory).
6.1. Blockchain data
You can change the directory for blockchain storage to improve performance or disk space usage by changinh the appdata_path parameter in config.json.
6.2. Wallet
The wallet is stored in the wallet.db file. Even if a device has dcrwallet and Decrediton installed, their wallets will be different files. You can copy the file between directories, for alternate use of the applications with the same wallet. You can also configure dcrwallet to use Decrediton wallet.db.
6.3. Configuration through command-line
In both Linux and macOS it is possible to run Decrediton in Testnet mode via command-line. Use --help to see the other parameters. To run any app on Testnet, simply include the --testnet option.
$ ./decrediton --testnet
$ /Applications/decrediton.app/Contents/MacOS/decrediton --testnet
7. Deleting the wallet
The wallet may be deleted by clicking the icon with the garbage can, shown in the previous figure. But there are safer methods for wiping a file. Learn more in the article Deleting the wallet.
